Business
How to use Legacy Contact, the estate planning feature in iOS 15

No one really likes to think about what happens after their death, but Apple’s newest Legacy Contact feature kinda forces you to wrestle with what happens to your data post mortem.
With iOS 15.2, users can add any number of Legacy Contacts, aka trusted people who can access your Apple ID and private information from Apple devices in the event of your death. The contact will have to provide an access key and copy of a death certificate to download and view the data, which may include photos, videos, notes, documents, etc.
If you’re ready to plan for the inevitable future, we’ve got a step-by-step guide on how to set up your Legacy Contacts – but make sure you’re really ready. Remember, this person will have access to everything!
1. Download iOS 15.2
The Legacy Contact feature comes with the latest software update. iOS 15.2 is currently only available in beta, but is expected to be fully released to the public later this year.
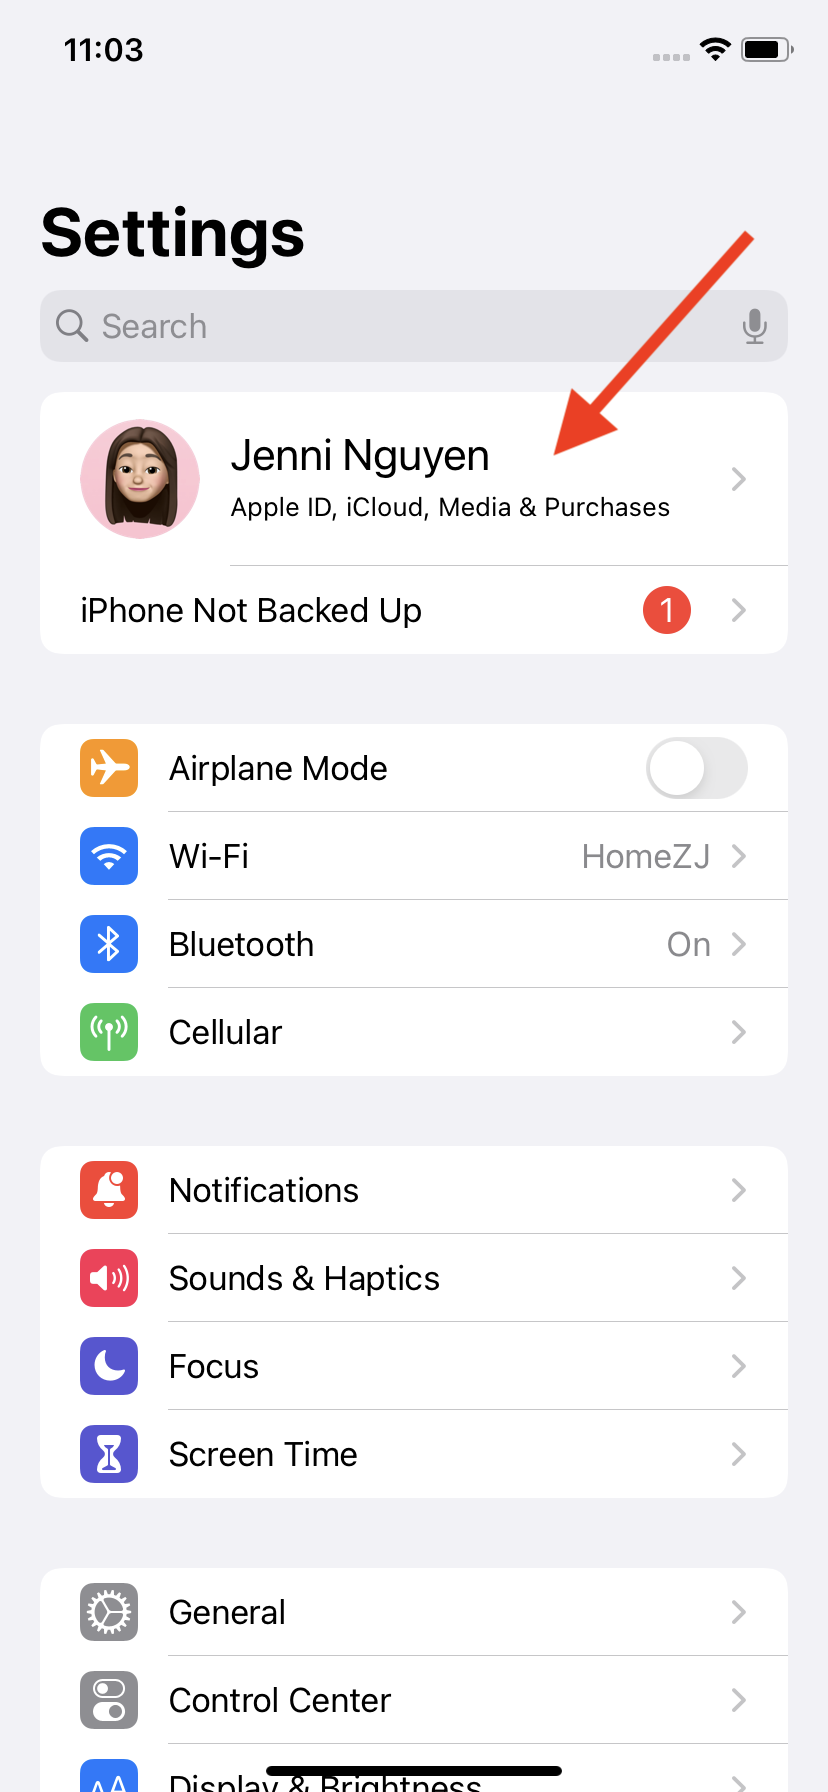
2. Open Settings, and tap on your name.

Tap at the very top.
Credit: Screenshot: Apple
At the top of the Settings menu, tap where it says your name. This will take you into your account settings, where you can adjust anything to do with your Apple ID.
3. Tap on Password & Security.

Legacy Contacts live in the Password & Security menu.
Credit: Screenshot: Apple
The option should be the second from the top.
4. Tap on Legacy Contact, then the ‘+’ symbol.

Legacy Contact is almost all the way at the bottom of the screen.
Credit: Screenshot: Apple

Only one place to tap.
Credit: Screenshot: Apple
On the next screen, tap where it says Legacy contact near the bottom of the list. Then tap on the ‘+’ symbol to begin the process of contact selection.
5. Tap through the onscreen prompts and select your contact.

This will pop up the first time you add a Legacy Contact.
Credit: Screenshot: Apple

Once you’ve chosen your contact, this screen will summarize the info you’re authorizing them to access.
Credit: Screenshot: Apple
The first time you select a Legacy Contact, your phone will explain exactly what it is. Tap through these prompts, and it should display your full contact list. From there, select your desired Legacy Contact.
6. Choose how you’d like to send or save your access key.

Choose whether you’d like to message or print your access key.
Credit: Screenshot: Apple
Once you’ve chosen your contact, Apple will generate an access key, which consists of a QR code and a lengthy string of letters and numbers. Your Legacy Contact will need this to access your data, so choose whether you’d like to message it to them now or print it out to be given to them later on.
And that’s it! If you’d like to add more than one Legacy Contact, you can go back to your Settings and repeat the process as needed. If you choose to print out your access key, make sure you arrange for your contact to receive it after your death, otherwise your data could remain locked up forever – but maybe that’s a good thing?
-

 Entertainment6 days ago
How to watch the 2024-2025 NBA season without cable: The greatest streaming deals
-

 Entertainment6 days ago
‘Here’ review: Robert Zemeckis, Tom Hanks, and Robin Wright reunite
-

 Entertainment5 days ago
Election 2024: The truth about voting machine security
-

 Entertainment5 days ago
Teen AI companion: How to keep your child safe
-

 Entertainment7 days ago
‘Memoir of a Snail’ review: A bleak, brilliant, and hilarious rumination on loss
-

 Entertainment4 days ago
‘Wallace and Gromit: Vengeance Most Fowl’ review: A delightful romp with an anti-AI streak
-

 Entertainment3 days ago
‘Dragon Age: The Veilguard’ review: BioWare made a good game again
-

 Entertainment3 days ago
Polling 101: Weighting, probability panels, recall votes, and reaching people by mail


